How to DIY Gel Nail Polish At Home
With frequent handwashing and keeping our nails short these days, it is almost like our hands are in desperate need of pampering! Sure, salons are slowly starting to reopen and resume their services. But if you’d rather play safe and continue to stay home, you can start getting creative by doing your own gel nail polish all by yourself and prettify those nails DIY style.

Gel nail polish offerings are popular because they last for more than two weeks and have a perpetually glossy finish that keeps them looking new. Most nail salons offer professional gel polish formulas that require for it to be “cured” under a UV lamp or a LED lamp. The curing process hardens each gel layer, making it super strong and shiny. It also makes them difficult to remove, so the nails need to be lightly filed and soaked in acetone for several minutes to soften and loosen the gel.
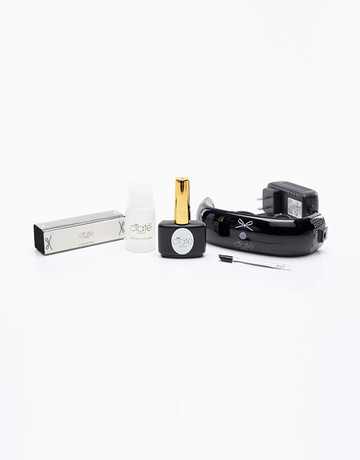
If you want to try gel polish at home, you can start with Geltox Starter Kit by Ciate (P4,455 on BeautyMNL). This at-home nail kit can turn any kind of nail polish into gel polish. Geltox topcoat transforms any of your favorite regular polish shades into a gel formula, as its LED lamp cures your mani in 60 seconds. The nail color is smooth, plump and encapsulated in the vivid, WonderShine formulation. This type of nail kit is usually pricey because you’re buying the polish, the curing lamp, and other important accessories. But they can save you from spending too much on salon visits while providing the same professional results.
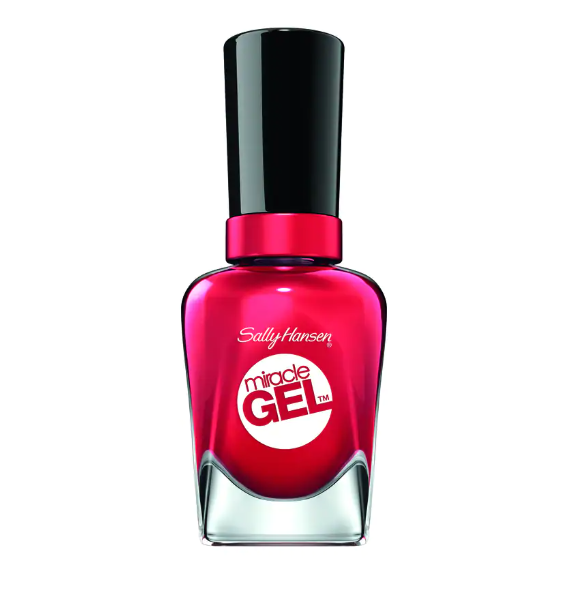
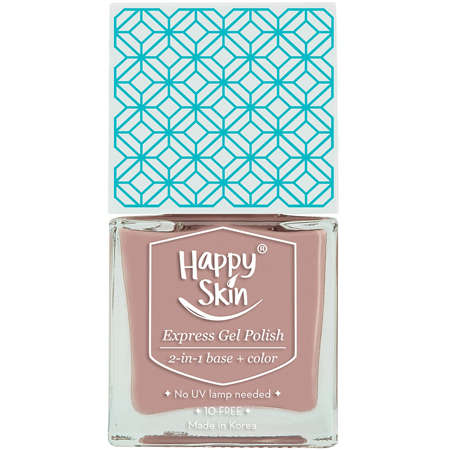
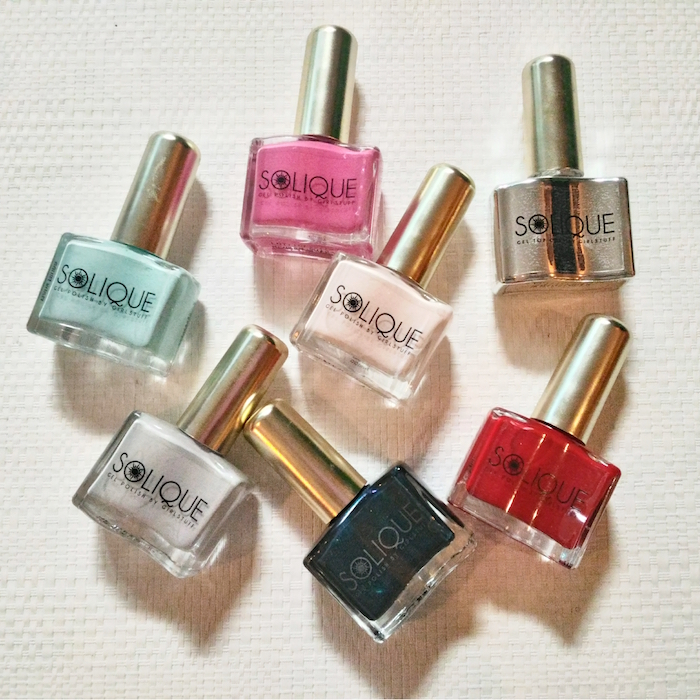
For a manicure that’s less fussy but still high shine and longer lasting than traditional formulas, there are now gel polish options that don’t need to be cured in a specialized machine. Most drugstores carry Sally Hansen’s Miracle Gel (P495 at Watsons) or you can opt for local favorites like Happy Skin’s Express Gel Polish 2-in-1 Base + Color (P249 from Lazada), or Solique’s Gel Polish (ranging from P180 to P250 on Beauty MNL). These polishes are also much easier to remove than cured gel polishes, so there’s less risk of damaging your nails.
Ready to start painting? A good manicure starts with proper nail preparation. Remove all traces of your old nail polish then apply a cuticle softener like Sally Hansen’s Instant Cuticle Remover (P445 from Watsons) or Orly’s Cuticle Care Complex (P450 from polishplease.ph). You can use a wooden stick or metal tool to gently push the softened cuticles back and away from the nail for a cleaner look.
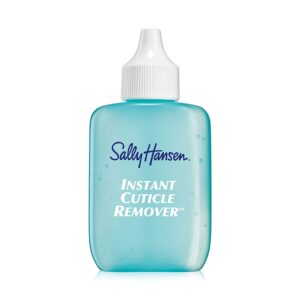
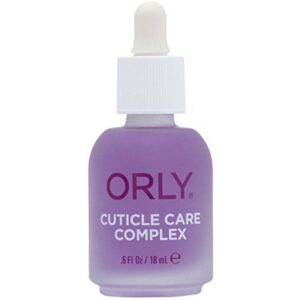
Trim and file the nails to your desired shape. Remember: the Center for Disease Control and Prevention recommends for nail growth to be less than 1/4 of an inch long from the tip of the finger, so it’s best to work with short nails for now. Make sure to also lightly buff the surface of the nails to remove ridges and promote polish adherence.
A lot of white dust will accumulate on your hands from all that buffing and filing, so wipe that off with some alcohol first before laying down your base coat. Strictly speaking, base coats are optional as some polish formulas are designed to adhere directly to the nail. However, applying a layer of base coat is like using a face primer before putting on makeup. It helps the other products to apply more easily and also makes your polish last longer.
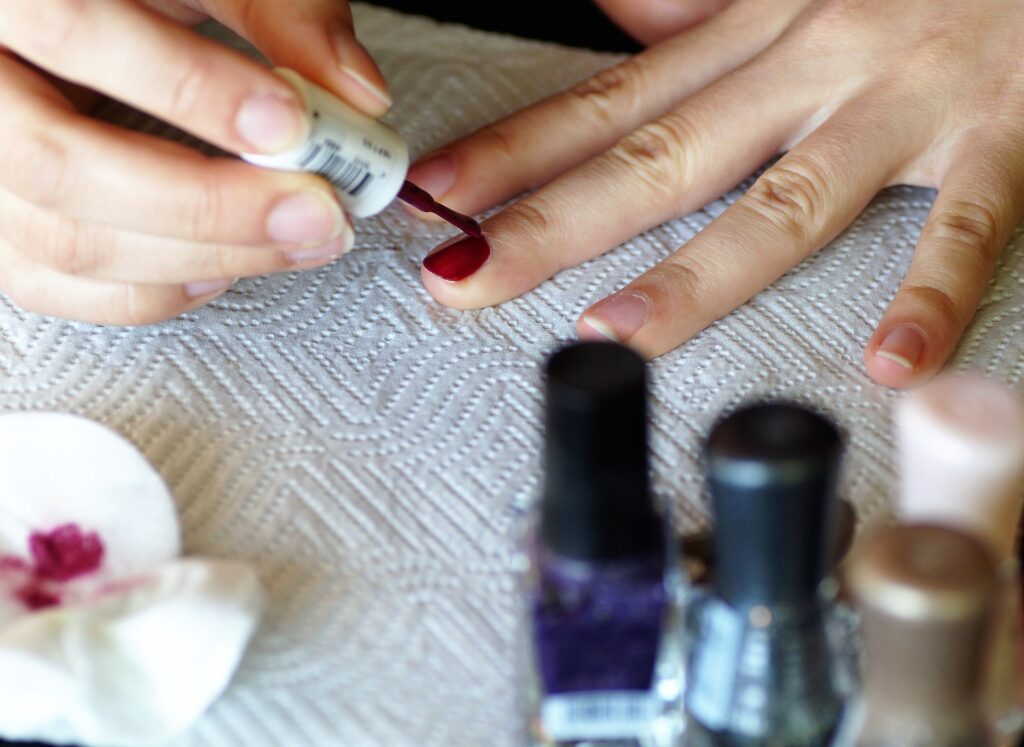
Once your base coat has set, carefully paint a thin layer of your nail polish color. For cured gel nails, it’s important for the applied layers to be very thin, otherwise it won’t dry properly. Make sure to also paint the free edge and clean up any polish that gets on your skin. Depending on the formula you’re using, follow the instructions for curing with a lamp or let the layer dry for 3 to 5 minutes before applying the next layer. You may need 2 to 3 layers to create a full and even pigmentation.
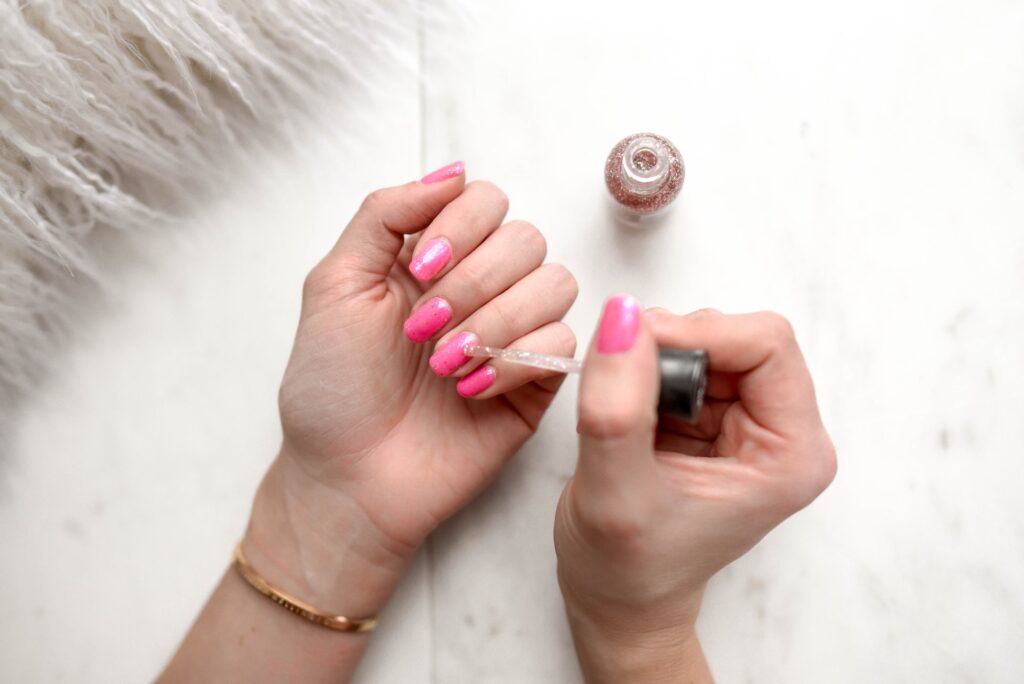
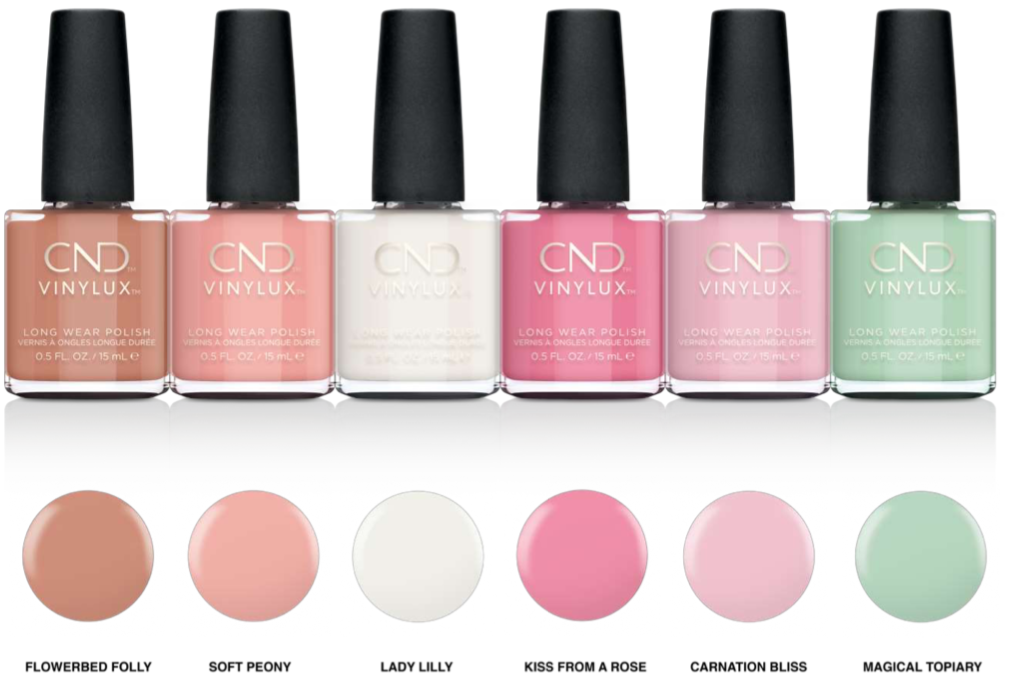
For this season’s trendy colors, CND‘s new English Garden Collection is for you. The collection’s colors are an escape to a garden of lush blooms with soft, delicate colors that evoke the feeling of renewal only spring delivers. This chic collection of gel polish features six, versatile shades of cool pastels and elegant neutrals–a romantic, feminine palette, reminiscent of a hidden English garden in full bloom. The shades include: Flowerbed Folly, a modern, dark neutral; Soft Peony, a warm creamy pink; Lady Lilly, a classic, semi-sheer and sugary white; Kiss from a Rose, a rich bubblegum pink; Carnation Bliss, a soft cool-toned pink; and Magical Topiary, a pastel mint green. Each bottle retails at P 449 on CND Philippines Lazada store.
If you’re into this season’s it-color that is Rose Gold, this gel polish from Cathy Kathy is a nice treat. Cathy Kathy is a Japanese gel nail polish brand that is a cult fave among many top salons in the metro right now for its exquisite quality and long-lasting finish. This Rose Gold gel nail polish retails at P273 on Cathy Kathy Lazada store.
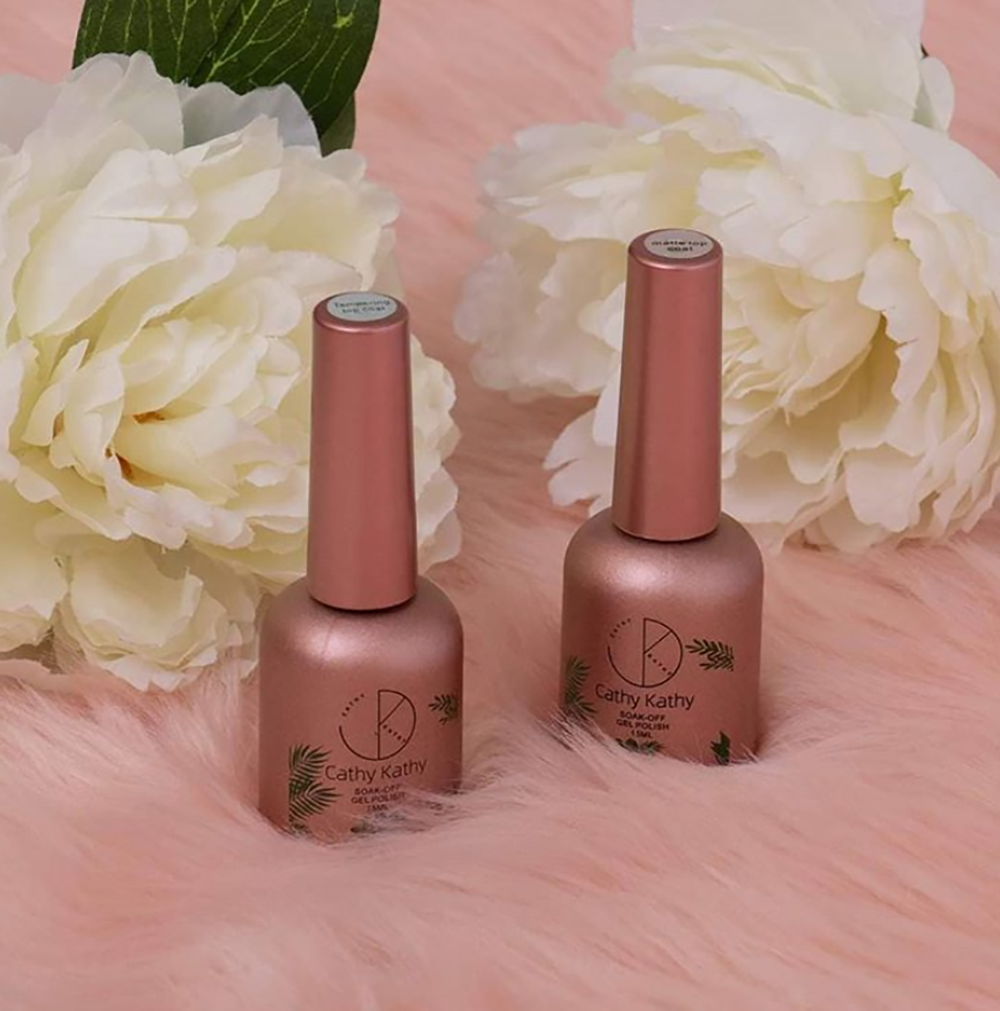
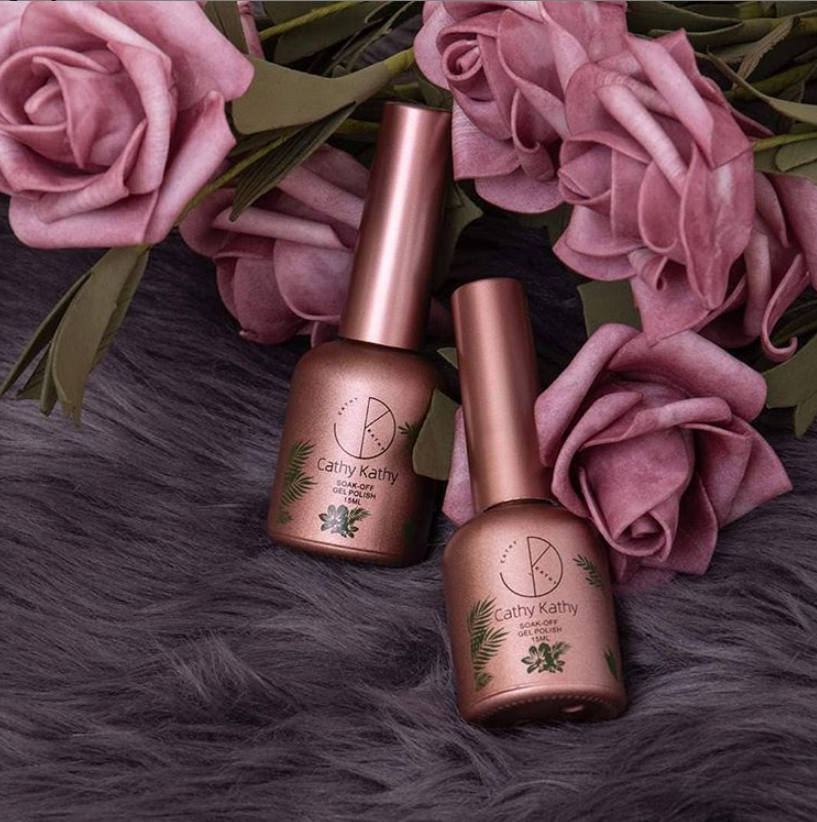
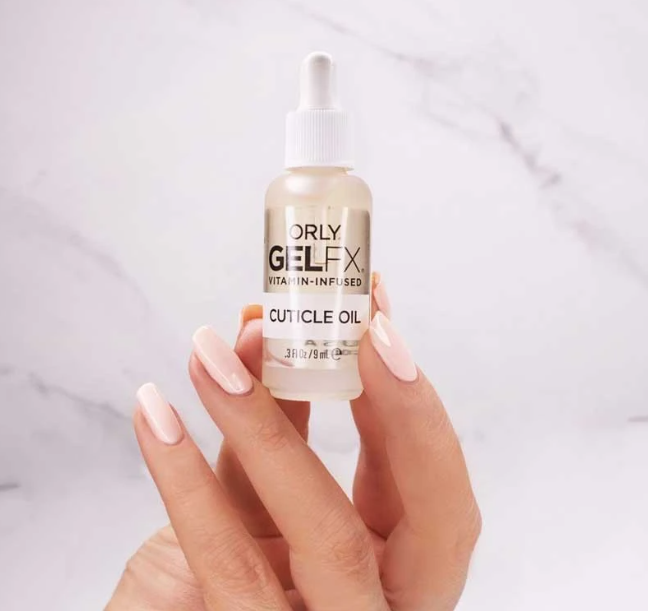
Okay, so now you are done painting your nails with the color of your choice. When all the layers have been applied, apply a top coat to protect your work and create a super shiny finish. Some top coat gel formulas may leave a sticky feeling on the nails but you can just wipe that off with some alcohol. Apply a cuticle oil like Orly’s Gel FX Cuticle Oil (P396 from Rustan’s The Beauty Source) to restore moisture, and admire your fresh new manicure!
 Beautifully painted nails are just instant mood-boosters. And with gel nail polish, you’re sure to have some pretty, colored nails that are gonna last for many weeks if you take good care of them. With these DIY nail care tips, you can be confident you can glam up those nails even at the comfort of your home.
Sources of Photos: Watsons website, Happy Skin website, Oracle website, Cathy Kathy’s Instagram page, CND Philippines
******************************
Please like Style Visionary Network at facebook.com/StyleVisionaryNetwork.
For your daily dose of self-love, style and inspiration, like Stylish Magazine on Facebook at facebook.com/stylish.emagazine and follow on Instagram @stylish.emagazine.


